Sunday, December 8, 2019

Orion Skyglow Astrophotography Filter - First Night Out

First off a night with a 66% waxing moon is far from an ideal test night. The purpose of Orion SkyGlow Astrophotography Filter is to remove various bands of artificial outdoor lighting. The moon is broad band reflected sunlight which is not fully filterable. Also making this night non-ideal was high clouds that moved in far sooner than the forecast 2300 EST cutting short the night. 

 That said I was able to image NGC7635, the bubble nebula using 15x2 min and 6x5 min  sub-frames. The Starizona Night Owl 0.4X focal reducer was used for imaging. Images were processed using Paintshop ProX9. To give a direct comparison between the two images the six steps used to process the 6x2min image were saved to a script which was then applied to the 15x2 min case. The process and cropped images appear below. 

On another note I am finding images acquired with the Starizona Night Owl are far more susceptible to the exposure conditions of the flat frames used in stacking. I image using SharpCap 3.2 and acquire flat frames over a range of exposures while keeping the logarithm of the histogram as close to a 20% to 80% range. In any case I would consider either image below to be acceptable considering the phase of the moon.
NGC7635 -- 15x2 min


NGC7635 -- 6x5 min

Tuesday, December 3, 2019

Some Auto-guiding subtleties - Updated

One of my early postings on the Orion Magnificent Mini Autoguider talked about how well it guided from my second floor patio despite mediocre alignment. Surprisingly it hasn't always been as smooth out in the field even when my Celestron 8 Advanced AVX system was well aligned using the All Star Polar Alignment (ASPA) method. The problem? Balance.

Early on I assumed I could get away with balancing and ASPA aligning the scope using the Celestron RACI visual finder then swapping that finder with the auto-guider which is mounted on the other side of the scope. The guider and finder are about the same weight.  It turns out the balances are not as equivalent as I thought. Often I found the auto-guider would not guide well depending on the direction the scope pointed. Various calibrations and setting changes did not help.

Then it dawned on me to try balancing the scope with the auto-guider mounted then swap the auto-guider for the visual finder to do the ASPA. Then re-swap the finder for the auto-guider. This pretty much eliminated guiding problems. Typically I still re-calibrate if I point to a far different part of the sky; no big deal as calibration takes less than 5 minutes.

The auto-guider is controlled by PHD2 software a sophisticated but easy to use free application originally created by Stark Labs then released as open source. One tip in the comprehensive help I have found useful is to move the scope at 10 to 20 seconds North(or South) before calibration. This generally eliminated a frequent 'not enough movement' error.

On a different note I just procured a 2" Orion SkyGlow Astrophotography Filter to deal with light pollution. Until now I have been using an older Orion Orion SkyGlow Broadband filter which is not really intended for astro-imaging.

Update: The retainer Orion SkyGlow Filter uses a poorly made flimsy plastic retainer ring susceptible to coming loose. This became evident after the filter was out of warranty. Ultimately the ring popped out during tear down after a night of imaging allowing the filter to fall out and break. The filter was replaced with an Optolong light pollution filter. I would recommend avoiding Orion filters. 

Thursday, November 28, 2019

New Starizona Night Owl Focal Reducer -- Updated

For some time I have used the combo 0.63x focal reducer(FR) and diagonal to achieve about an f/5 focal ratio with some rather distorted stars out to the edge of the ASI 294MC Pro with its 16x13mm sensor. Recently I procured a Starizona Nightowl FR which promises .. "to provide excellent image quality over a 16mm image circle." This is a bit of an over promise. Even near the 13mm dimension edge of the ASI294MC star distortion is quite evident; albeit less objectionable than the aforementioned 0.63x FR optical configuration. 

A bigger concern is uneven background vignetting. This is expected in any optical system which is why flat field correction is essential. However, in just my short experience with the Night Owl there is a small residual greenish glow  evident in the center of the Horsehead Nebula and NGC1981 images even after applying several flat fields acquired at different exposures. Imaging was from  a quite light polluted area, Frederick, Maryland and it's hoped a Orion SkyGlow Astrophotography Filter will help with this. Meanwhile here are a few early results. 

Update: Since this writeup almost all NightOwl images have been acquired at 3104x2116 or 3104x2844 pixel formats. At these formats flat frames are effective eliminating the residual greenish glow in the center of DSO images. I now do all NightOwl imaging at the 3104x2844 format. 

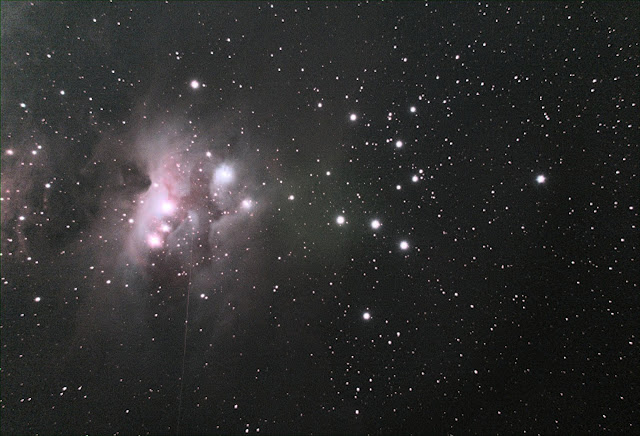
Barnard 33(Horse Head Nebula), NGC2023, 
NGC 2024(Flame Nebula)

Sharpless 279, NGC1981 
    

Recent and not so recent DSO images

These images were typically acquired using a Celestron 0.63x focal reducer with or without a diagonal. With the diagonal a non optimal F/4 focal ratio is achieved. With my typical straight through configuration with 108 mm gap between the focal reducer and the sensor yields ~F/6.3. Imager was ZWO ASI294MC-Pro @0C or 10C depending on ambient temperature.

Processing is with AutoStakkert for averaging subframes, Paintshop Pro X9 for image processing. In some cases the minimalist Fix app built into Window 10 Photo Gallery was used to tweak the image.

NGC 6960 - Western Veil Nebula

NGC6888 -Crescent Nebula

 ZWO ASI294MC Pro series of 180s exposures
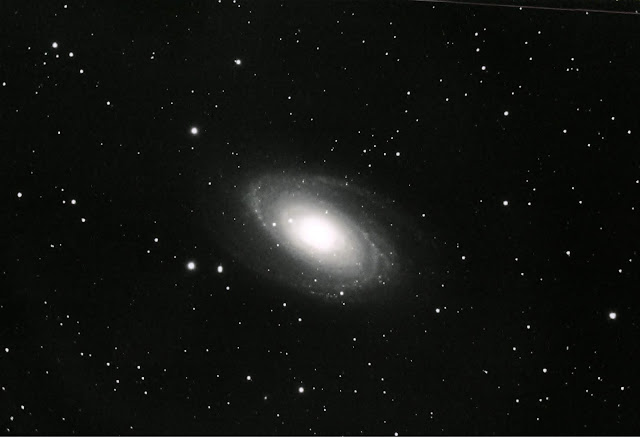
Messier 81- Bode's Galaxy
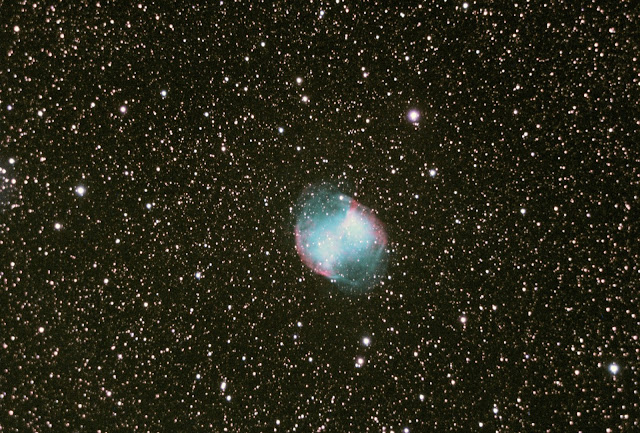
Planetary nebular: Average of 8x180s, ASI294MC Pro
Messier 27 - Dumbell Nebula
NGC6992 - Eastern Veil Nebula

ASI294MC Pro, 10x120s exposures
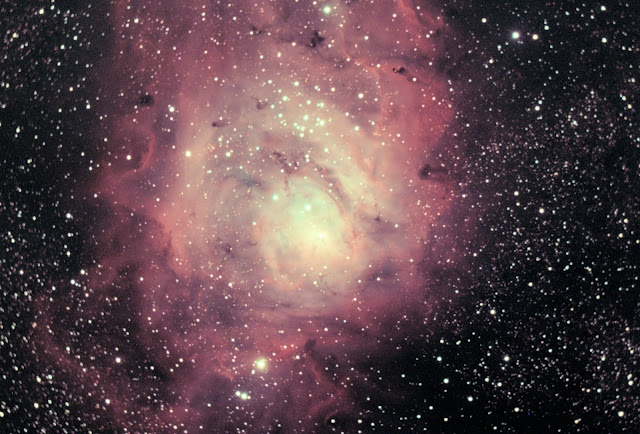
Messier 8 - Lagoon Nebula

ASI294MC Pro, series of 30s exposures
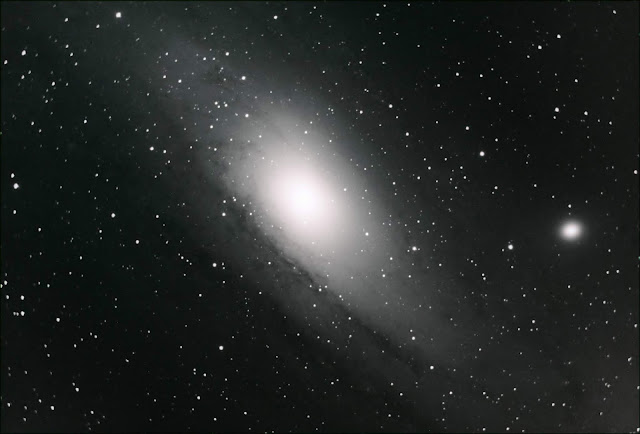
Messier 31- Andromeda Galaxy

ASI294MC Pro, Average of 15x60s exposures
Messier 16 - Eagle Nebula

ASI294MC Pro, 20x30s averaged.
Messier 17 Omega Nebula

Wednesday, May 15, 2019

Windows Live(TM) Gallery

April - May mid Atlantic clouds have been frustrating leaving me time to retrospectively play with past images. I often quick view images with Windows Live Gallery. What I had not noticed or played with until recently was the Fix function. Fix is a basic image processing app that lets you make quick adjustments brightness, contrast, color, tint, and saturation. Other functions are sharpening and noise reduction. I still do initial processing of the averaged image using Corel Paintshop Pro X9 . These five galaxies were touched up with the Windows Live(tm) Gallery Fix after initial processing with Paintshop Pro X9. Unfortunately galaxy season, when the Virgo and Coma galaxy clusters are prominent around 10 PM is passing fast. Fingers are crossed the last week of May when the moon is waning will bring some clear skies.

M101

M106

M94

M81

NGC2403


Wednesday, January 23, 2019

Back to the Moon

It's been a couple of years since I did any Solar System imaging with my focus on bettering my DSO imaging with ZWO imagers. The super low noise, sensitivity, cooling and high dynamic range have allow me to do DSO imaging even when the moon is in gibbous phases. I never really tried this with my old  uncool Meade DSI II Color camera. And with precious few nights in the USA northeast DSO imaging was prioritized at every opportunity. 

This time of year seeing in the Mid Atlantic States tends to be mediocre thanks to current the path of the jet stream favoring DSO imaging over more seeing sensitive  lunar and planetary imaging. Despite this I recently decided to pull out my trusty old Celestron NexImage5 Solar System Imager on a recent first quarter moon night. Seeing was only a 3 on Clear Sky Charts

The lunar images can be seen at this entry in my Solar System Imaging with Celestron NexImage5


Sunday, January 20, 2019

What I learned from post processing M42 in Paintshop Pro X9.

In my last posting I alluded to simplifying my post processing using M42 as an example. My goal has always been get a aesthetically pleasing image with as few steps as possible. 

I use Corel Paintshop Pro X9 (Standard).  In the past I would thrash around trying various aggressive histogram adjustments, color balance adjustments, brightness and contrast, curves and saturation adjustments. The result would be a history of many steps (often 10 or 12) that if saved as a script would not translate well to the next image. One thing all post processing had in common was my first step started with histogram stretch then histogram adjustment to bring out the faint areas. 

I have found, after applying a histogram stretch, I can apply a gentle histogram adjustment (Gamma: 1.3-1.5, Appearance: between -3 and -5) four to seven times to bring out the faint areas. These initial steps for  7x histogram adjustments were saved in a script that can easily be edited to change Gamma and Appearance values. I also selectively deleted histogram adjustment steps to give 4x and 6x scripts. 

After applying the histogram adjustment scripts I use white balance to eliminate the excessive green cast: more on this below.  The Curves dialog is adjusted to further adjust color balance and contrast to bring out faint nebulosity or the outer parts of galaxies. Color saturation and hue are more subjective and are applied case by case.